Quick And Simple Guide On GL SFT1200 Setup
The GL SFT1200 Setup is an extremely perfect choice for small apartments, small office space and business travelers. Its compact size makes it convenient for the users to carry it anywhere they want. This magical device is well known by the name of Opal. To know more about this tiny router keep on reading.
It Offers Fast Wifi Speed.
The GL SFT1200 Setup operates on dual frequency bands. It uses one 2.4Ghz band and one 5GHz band to provide you faster and reliable wifi speed. The Combination of both the bands provide speeds of upto 1200 Mbps. To be precise, on the 2.4Ghz band you get maximum speed of upto 300 Mbps. Whereas on the 5Ghz band you can enjoy maximum speed of upto 867 Mbps.

Great Security With VPN
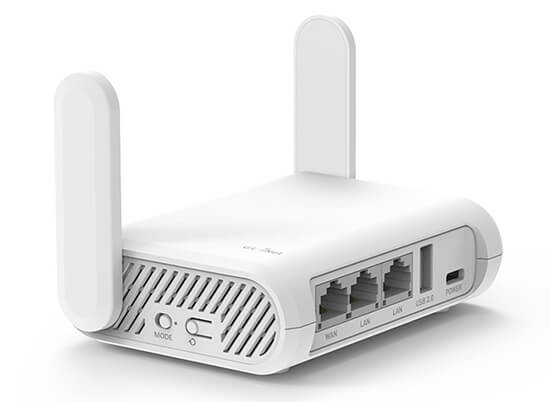
Gigabit Ethernet Ports And USB Port
Further the Opal offers not one or two but in total three Gigabit Ethernet ports. This allows you to connect your wired devices directly to the router. The benefit you get is a stable, direct and strong connection for your devices. Additionally on the GL SFT1200 Setup you get one USB-A 2.0 port. So you can easily share data and files as well. The users can connect a maximum of 52 wireless devices simultaneously to the Opal.
Hardware Overview
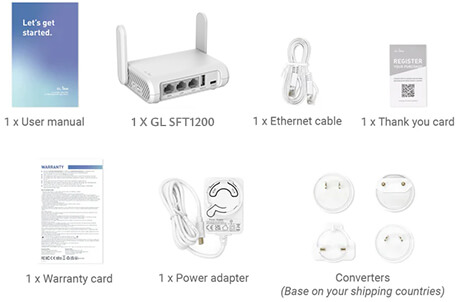
Package Contents

- Firstly the main component which is the Opal Router.
- One Ethernet Cable
- One Power Adapter ( depending on your shipping country).
- One quick user guide for your reference.
- Lastly, a thank you card and a warranty card.
Installation Guide
- Firstly, plug one end of the provided power adapter into the power port of the Opal.
- Connect the other end of the power adapter to a vacant power socket. Switch it on.
- Next, to connect your device to the Opal, you can use two different methods.
Connect Through Ethernet Cable
For connecting your chosen device like computer system or your laptop to the router, plug one end of the Ethernet cable into the LAN port of the Opal. Connect the other end of it to the Ethernet port of your chosen device.
Connect Through Wifi
- Further, on your connected device open any internet browser (preferably go with Google Chrome, Edge or Safari).
- In the address bar of the chosen internet browser type http://192.168.8.1 and press Enter. This action takes you to the web admin panel for completing GL SFT1200 Setup.
- Now, select the preferred language and tap on “Next”. Further setup the admin password and click on “Submit”.
- Lastly, configure the network by selecting the “INTERNET” option. Basically, it supports four ways to connect to the internet that are: via Ethernet, via USB Tethering, through USB modem and as a Repeater
Connect To Us For Support !
In case of any other query or for assistance and guidance on any aspect related to your GL.iNet products, feel free to connect to us.