How To Conduct Eero Setup Seamlessly
Many people usually have a notion that setting up networking devices requires assistance from experts. This might be true for other networking gadgets but definitely not for eero. The Eero setup process is very easy, all because of its user-friendly app. The eero application is available for free thus you do not need to pay for it. Apart from the package contents, for the setup you require a smart device, a modem and an active internet connection. So in this blog-post we’ll be sharing the quick insights about the eero setup process.
✓ Start With Collection Of Package Contents
As you unveil your eero purchase, inside you’ll find:
- Your eero device.
- Eero’s power cord.
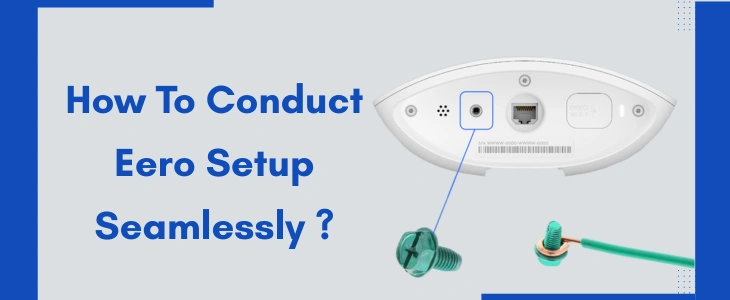
- Thereafter, an ethernet cable.
- Lastly, a quick user-friendly eero setup manual.
✓ Install The Eero App
Fetch your device that offers internet connectivity. Open Google Play Store. Search for eero app. Ensure you install the authentic version. If you are an iOS user then fetch the eero application from the App Store. Additionally, if you already have access to the eero app then make sure it is up-to-date. Otherwise you might face connectivity issues with the eero setup.
✓ Create Or Login Into Eero Account
Now for this eero setup step, you have two choices. First is to create your eero account. For this you need to fill up your phone number in addition to your email id. As you do so, you get a code. Now fill up the code without any error and successfully create your eero account. Alternatively to login into your eero account you can directly type in the account (Amazon) details.
✓ Activate Your Eero
For errorless eero setup, first detach your modem as well as the existing router from the power source. After that, fetch the ethernet wire. Link it to the eero gateway device. Then link it to the modem. Now fetch the power cord. Link it to the eero’s power port. Finally, power on the modem as well as the eero.
✓ Wrap Up The Eero Setup
To complete the setup, fulfill these steps one after the other.
- As you click on Next, the eero app begins its search for the eero device. This is why the light on your eero starts flashing. So you need to wait till it solidifies.
- Now, you’ll be prompted to choose the location for your eero.
If by any chance it isn’t able to detect the device then you need to input the serial number that is written on the eero’s panel.
- Finally, let your devices join the network. For this fill up the network SSID alongside the password. As you do so, tap on Next. Here the eero setup completes.
Lastly, if you want to extend the coverage to a more area than you can do so by adding more eeros to the network. Just keep placing the additional eeros strategically throughout your abode. Then connect them to the main unit either wirelessly or through ethernet cables. Finally, enjoy uninterrupted connectivity for your devices.