Get the Most out of Your Wi-Fi: Steps For Zodthod Extender Setup
In this digital era, the need for WiFi range extenders is more pressing than ever. The internet is driving our lives from the moment we wake up to the moment we go to sleep. Our work, shopping, learning, games, entertainment, etc solely rely on the quality of the internet. Therefore, it is needless to say that the internet has become a basic need like food and water. The wireless WiFi range extender is known to be the best way to extend the quality and coverage of your existing internet services. In addition, these extenders are easily available in the market at a pocket-friendly price. However, the problem occurs when the time comes to perform the setup. Therefore, we are explaining every step in a detailed manner for your better understanding.
Configuration Process Explained
The whole process of the Zodthod extender setup is divided into three major steps. Every single one of them is effortless to perform. You can read the instructions and follow them to complete the setup successfully.
Connecting Devices
You can connect the devices in three ways. All of them are simple enough to understand.
- Wired Connection – This is a traditional method but ensures a strong and uninterrupted connection. Take an ethernet cable and connect one end to the router and the other to the extender. Make sure the cable is connected properly and tightly.
- Wireless Connection – Connect the extender to a power outlet and switch it on. Wait for the LED to turn solid orange. Go to the WiFi manager of your computer or laptop whatever you are using. Click on scan to search newly available devices. Further, click on the Zodthod extender name once it appears on your screen.
- WPS – The WiFi-protected setup is the easiest of all other methods. But the requirement is that your host device should also have the WPS feature. First, press the WPS button on your router. This is a small button near the power button. You need to press it for a few seconds. Second, do the same with the WPS button on your extender. The thing you have to keep in mind is that you have to do it within two minutes. The LED blinking orange indicates that the devices are processing to connect. Once the LED turns stable and solid blue understand that the connection is successful.
Let’s Complete The Login
- First, Check the label at the bottom of your range extender device.
- Collect your login credentials like your SSID and password.
- Use any browser of your choice and make sure that it is updated.
- Go to the search window and type the web address accurately.
- You can use the IP address too.
- The page for the Zodthod extender setup will show up.
- Select the login option.
- Enter your SSID and password.
- Lastly, Click on the Sign In option.
- The login will be successful in a few seconds.
- Retype your login credentials if the process is taking too long.
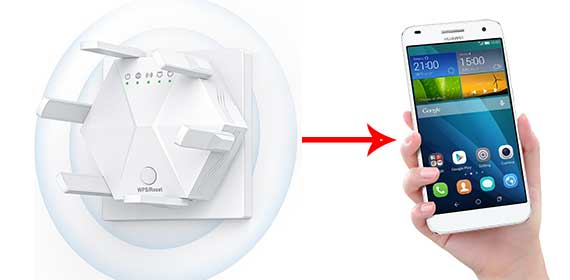
Login Via Mobile
A mobile app-based login is also available if you prefer operating gadgets via your smartphone. The steps are given below. Follow them carefully.
- First, download the app.
- Make sure you download the latest version.
- Make an account by entering a username and password.
- You can change these anytime.
- Select the extender model you are about to log in to.
- Click on the login option.
- Enter your details in the login interface.
- Then tap on Sign In.
Setting Up Zodthod Extender
The Zodthod extender setup mainly consists of settings customization. The options you choose will help you operate the extender and its network connection in your way.
- The setup page will show further instructions to complete the configuration process.
- Click on Done and then on Settings.
- Select Customize Settings and start setting up the features according to your convenience.
- Manage SSID, password, parental controls, port forwarding, guest mode, etc.
- Set the number of devices that can connect to your network.
- Click on Done and save the customized settings.
- Reboot your device and enjoy an improved and fast internet connection.
Why You Are Not Getting The Promised Speed?
There can be many reasons that can interrupt the internet connection. Although it is difficult to identify the exact reasons you can try some basic and common troubleshooting hacks.
- Firmware Update – Go to the settings and check if the firmware is updated to its latest version. If not then update it. Set the updates on automatic mode to prevent the hassle of checking for the updates again and again.
- Ethernet Cable – The ethernet cable is responsible for supplying the internet from the main router to your extender. Therefore, the quality of it should be high. Use a brand-new cable and check for any damage if you are using an old one.
- Compatibility – YOu can face this problem if your main router is not compatible with the extender.
- Placement – Place your extender halfway between the router and the dead WiFi zones. Make sure no walls or big objects are hiding any of your devices.
- Electromagnetic devices – These devices interfere with the internet supply. Remove every single one of them. In addition, google the list of all household electromagnetic devices if you are not aware of them.