Boost Home Network Working- WL WN583A6 AC2100 Extender Setup

WN583A6 Extender Overview
With the WL WN583A6 AC2100 Extender Setup you can enjoy high speed internet up to 1733 Mbps from 5GHz frequency and 300Mbps from 2.4GHz frequency. To transmit your existing network signals the device has six 3DBi antennas and built-in high power amplifiers. Moreover, the device is capable of providing a strong wireless signal that can go through walls and other obstacles.
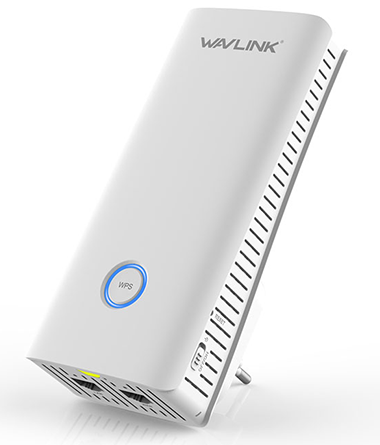
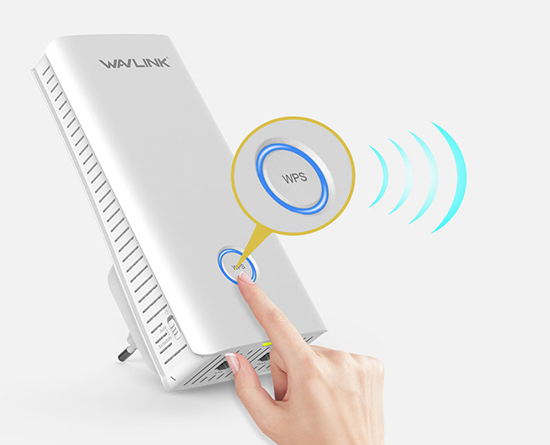
When we talk about its design, it is a compact wall plug type device which can be installed easily. On the front of the device you can notice the WPS button only. LAN/ WAN ports are given at the bottom. On one side you’ll find the power button & reset button and on the other side a smart night light button.
What You’ll Need
- WN583A6 AC2100 Extender
- Host WiFi router network
- A device such as Computer, Laptop, Mobile or Tablet
- Your host router SSID & Password
WL WN583A6 AC2100 Extender Setup Procedure
WPS WN583A6 Extender Setup

- Afterwards, press & hold the WPS button on your WN583A6 extender for about 6 seconds.
- Then press the WPS button on your host WiFi router device.
- You should press the button within two minutes.
- Lastly, wait and monitor your extender device. You’ll notice your router device will reboot itself. In addition, WiFi LEDs turn on and remain solid, which indicates the process is completed successfully.
- To enhance your network performance you can relocate the extender device to another place. This step is completely optional.
Web WN583A6 Extender Setup
Web based route to do WL WN583A6 AC2100 extender setup involves following steps:
Initial Steps
- Turn on the power of the extender device by connecting it to the power outlet.
- Then, switch the power button on the extender to ON.
- Monitor the LED of WN583A6 & wait till it turns solid.
Configure WN583A6 Extender
- Now, take a WiFi enabled device of your choice.
- Go to the WiFi settings and connect it to the WN583A6 extender network.
- Thereafter browse the “http://wifi.wavlink.com” web address by opening a web browser such as Chrome, FireFox etc.
- Login page will open on the screen where you need to use “admin” as your username and password.
- Then click on the login option, choose “system setup” and then setup wizard will start guiding you.
- Follow the guidance and choose your host router network
- Provide the password of your host router network
- Afterwards create a new SSID for your extender network. You can also keep the same SSID as your router network.
- Create a strong password and verify your wireless settings.
- In the end, click on the “connect” option and let the extender device reboot itself.
- During this you just need to wait and monitor your extender device.
Relocate WN583A6 Extender
You have to relocate the WN583A6 Extender device. This will enhance your network performance. Although this step is completely optional. If you feel your network is great then don’t move your extender. Remember to keep the WN583A6 Extender device within the rage of the host router.
You can take help of Tech Support Hub Wavlink technicians and complete your device setup. Just connect us and say hello to a more robust network. Our technicians are also capable of troubleshooting any issue with your WN583A6 Extender. What are you waiting for? Call us on the below given number now and say goodbye to the technical issues. Enjoy a strong and reliable network with our tech support.