Maximize Your Home Network- WL WN577A2 AC750 Extender Setup
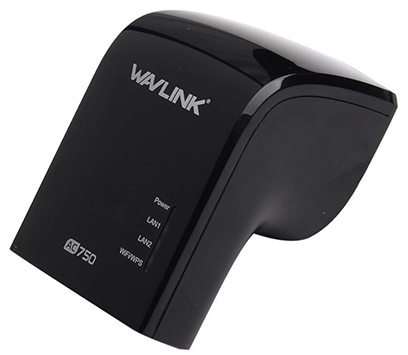
Struggling with your home WiFi network coverage and speed? Wish to enhance your home network? Searching for a perfect range extender device for your home? Check out WL WN577A2 AC750 Extender, a device offered by Wavlink to enhance home networks.
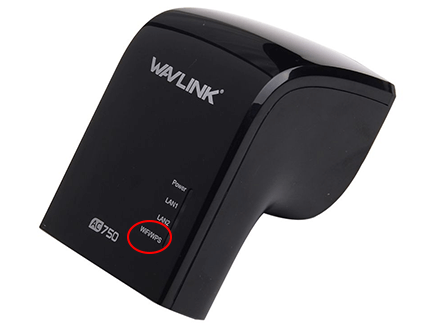
The Device supports dual band frequency offering speed up to 750Mbps of total bandwidth. It has three 3dBi integrated Antennas to extend the range of your existing network. When it comes to the design of the device, it is a small compact wall plug style device. You can easily install the device anywhere without worrying about the space. Moreover on the device front you’ll see four LED’s (power, WPS/WiFi, WAN/LAN, LAN). On the button side you’ll find WPS button, reset button, LAN & WAN port and mode switch button. Although, on one side you will find a power button. In addition you can easily install and configure the device.
On this page you’ll get detailed instructions to perform WL WN577A2 AC750 Extender setup. Check out step by step instructions to add this device in your home network.

WL WN577A2 AC750 Extender Setup
WL WN577A2 Extender WPS Based Setup
Power The Extender
- Firstly switch the mode selector button on the extender device to the repeater position.
- Thereafter plug in the extender in the electric outlet next to the host router device.
- Power on the device by switching the power button to ON.
- Then wait till the power LED is on and turn solid green in colour.
Configure The Extender

- Once the LED becomes solid green, press the WPS button on the extender device.
- Hold the extender’s WPS for about 6 seconds and then press WPS on the router.
- Press the router’s WPS within 2 minutes and let the process complete.
- During the setup process the extender device will reboot itself.
- You have to wait and when the device is on check out the WPS/ WiFi LED on the device
- If it turns on and stays solid, it indicates the process of WL WN577A2 AC750 extender setup is completed successfully.
Relocate The Extender (optional)
- Now you can move your extender device to another location and plug-in to enhance its working.
- While re-locating the device must keep it within the range of your main host router device.
WL WN577A2 Extender Web Based Setup
Power The Extender
- Firstly, you need to turn the mode selector button on the extender device to the repeater mode.
- Then plug-in the extender device directly in the electric outlet
- Keep the device next to the host router device.
- Now switch on the power button on the device and wait till the power LED is on and turn solid green in colour.
Connect The Extender
- Once the LED turn solid, you need to take a client device and connect it to the extender network
- To establish connection go to the WiFi settings and look for “WAVLINK-N” or “WAVLINK-AC” network.
- Click on it and connect by using “admin” as default password (in case needed).
Configure The Extender
- Afterwards you need to use the web browser and search for wifi.wavlink.com web address.
- Login page will open where you need to login by using “admin” in both username & password fields.
- Setup wizard opens, click on start setup option and follow the on screen guide.
- Then select your existing home network from the appeared list and also provide the password.
- Follow the wizard guide and complete your WL WN577A2 AC750 extender setup.
Relocate The Extender (optional)
- Now you can move your extender device to another location
- Plug-in to the power outlet and switch on the power.
- Wait till the LED turns on and connect to the extender network to enjoy uninterrupted services.
- While re-locating the device must keep it within the range of your main host router device.