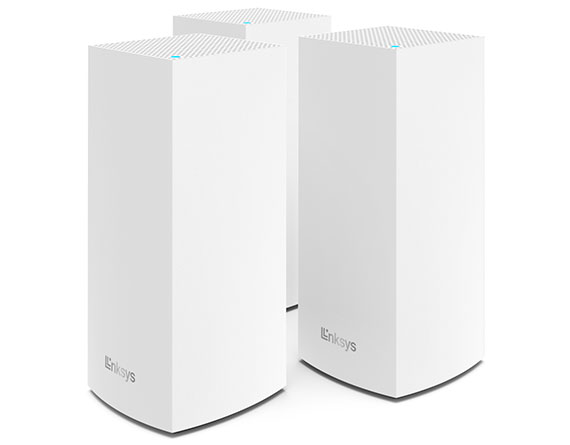
Linksys Tri-Band AXE8400 Mesh WiFi 6E Setup
A fast, reliable internet connection is becoming a necessity in today’s world. Linksys Tri-Band AXE8400 Mesh WiFi 6E device acts as a game changer in the digital world. The device is designed to upgrade home networking. It is a tri band router that supports the latest WiFi 6E standards which adds a 6 GHz band to the existing 2.4 GHz and 5 GHz bands. This additional band will boost the network overall performance & reduce network congestion. Moreover, the device uses advanced mesh technology which ensures strong and consistent coverage throughout your home. As a result, you’ll get reliable internet throughout the area.
Concerned about the Linksys Tri-Band AXE8400 Mesh WiFi 6E Setup? You do not need to worry; this article contains a comprehensive guide which includes the detailed setup process. Walk through the information we have furnished in this page till the end to get knowledge. We assure you after reading this article you need not to worry about the setup. Moreover, you can connect us if you are experiencing any obstacle.
Tri-Band AXE8400 Mesh WiFi Overview
- 2.2GHz Quad-Core Processor
- Multi-Gig Ethernet port
- Tri-Band WiFi with Dynamic Backhaul
- Tri-Band WiFi with Dynamic Backhaul
- Automatic Firmware Updates
- WPA2-Personal, WPA3-Personal, WPA3/WPA2 Mixed security
- Encryption SPI Firewall etc./li>