Linksys Velop AC6600 Setup - A comprehensive information
In the rapid evolving world of home networking, the demand for high-speed internet and extensive coverage is growing. As more devices are connected to our homes, the need for a reliable Wi-Fi system becomes increasingly essential. To address these demands Linksys Velop AC6600 stands out as a futuristic solution. Linksys Velop AC6600 is a tri band mesh Wi-Fi system which includes one 2.4 GHz band and two 5 GHz bands. Its mesh technology allows the system to manage multiple connections efficiently and deliver fast, consistent speeds across a wide area.
In case you desire to enhance your home network, Linksys Velop AC6600 is a perfect choice. Linksys Velop AC6600 setup process is facilitated by the Linksys app which simplifies the network management and configuration. Furthermore, you can easily access the Linksys Velop AC6600 setup process even if you don’t have technical knowledge. By following the right steps of setup procedure, you can optimize the performance of your network to enjoy seamless internet connectivity.
Linksys Velop AC6600 Specifications
- Coverage: Up to 6,000 square feet with a three-pack system.
- Ports: Two Gigabit Ethernet ports per node.
- Processor: Dual-core processor for better performance.
- RAM: 512 MB for smooth multitasking.
- Security: WPA2/WPA3 encryption for better security.
- Speed: Up to 6.6 Gbps total throughput.
- Tri-Band Technology: Includes one 2.4 GHz band and two 5 GHz bands.
- Wireless Standard: Supports 802.11ac Wi-Fi.
Linksys Velop AC6600 Setup Steps
Unbox and Position
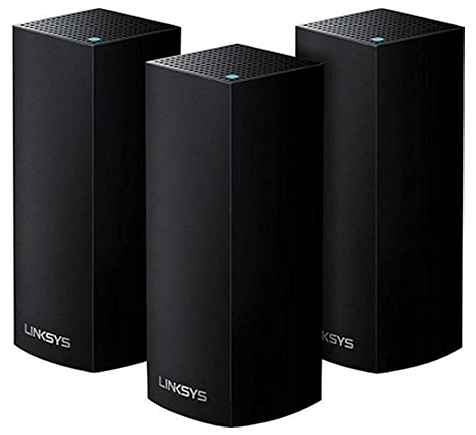
- Firstly, unbox your velop AC6600. In the box you will get three nodes with power adapters and an Ethernet cable.
- Thereafter you need to choose the position for the nodes. Placement is very important to get seamless coverage throughout the area.
- To perform setup, you need to connect the primary node with modem by using wire, so keep one node closer to the modem.
Connect Power
- Once placement has been decided you need to connect the nodes with the power socket.
- Switch on the power plug of the primary node to begin the setup process.
Download the App
- Next you need a client device in which you can download the app
- App can be downloaded in IOS or android devices.
- To install the app, you should rush to the app store in case you are using an IOS device. Moreover, the app is available on google play store too for android device users.
Create an Account

- Furthermore, you need to create an account on the App.
- To create account, you should visit the Linksys app & choose “click here” option from front of “don’t have account”
- Account creation page will display on the screen where you need to enter the required information.
- After providing the details and creating a password, hit the verify button.
- You will get a security code on the email you mentioned.
- Enter the security code to complete the process.
Connect to Wi-Fi
- Now connect the node with your WiFi by using Ethernet cable.
- Inset one end of the Ethernet cable in the Ethernet port of the node whereas the other end in the Ethernet port of the modem.
- Then you need to notice the LED on the node and wait till it’s become purple
- Purple light on LED indicates the device is ready for configuration.
Configure the Network
- Once the LED turns purple, you need to go to the Linksys app.
- Choose the “set up a new network” option there.
- The app will guide you with the further process, follow it.
- Complete the configuration process.
- In the end of the process you will notice solid blue light on the node LED.
Note: During Linksys Velop AC6600 Setup, the device will guide you to create a name for your network and security key. Remember to create a security key which is memorable yet powerful to keep your network secure.
Add Nodes
- After configuration of the primary velop node, you need to power on the second node.
- Wait till the LED on the node turns solid purple.
- Go to the app and click on the “Add additional node” option.
- Let the velop node establish connection by using the WiFi network.
- Sit back and wait till the process completes. You will notice the LED on the node turns solid blue in that case, setup is done.
- Add the third node with the same process and then click “Finish” option
Test the Signal
- Lastly, you need to check the signal strength.
- Take your device and check the signals by moving throughout the area.
- In case, you notice weak signals anywhere, try to move your velop node & reposition it.
- Remember the node must be within the range of modem.