Linksys Velop MX12600 Setup - A comprehensive information
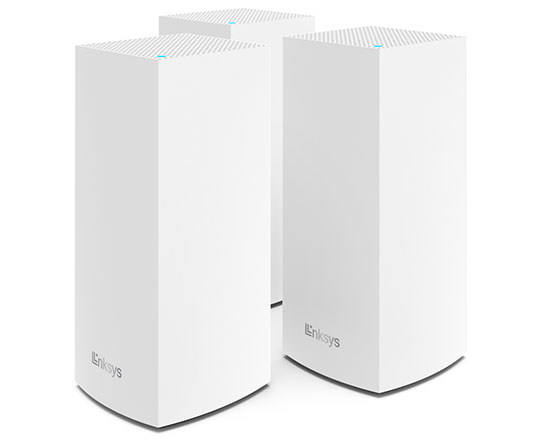
Desire a home with flawless internet connectivity? Looking for the device which can help in building your home where buffering is a distant memory. To transform this vision into reality Linksys, a leading name in the tech industry, comes with the Linksys Velop MX12600 Tri-Band Mesh WiFi 6 System. It is a cutting edge solution to turn your home into a network paradise. Velop MX12600 is specifically designed for a dynamic and demanding environment.
Linksys Velop MX12600 Setup is a very quick & straightforward process due to its advanced mesh technology. It is ideal for medium and large homes. On this page you will explore the detailed steps involved in Linksys Velop MX12600 Setup. Moreover, you will get the guide about troubleshooting as well if you encounter any problem with your Linksys device.
Velop MX12600 Unboxing & Initial Setup
Unbox Carefully
- Router unit
- Power adapter
- An Ethernet cable
- A quick start guide
Choose Optimal Placement
Connect to Power
- Plug the power adapter into the router and then into an electrical outlet.
- The router will begin its boot-up process. The LED light on the node will show blinking blue light.
Connect to Your Modem
- Thereafter you need to use the Ethernet cable to connect the router to your modem.
- Insert an end of the cable in the Ethernet port on the router whereas the other end in the modem.
Setting Up the Velop App
Download the App
- To begin the configuration, you need a mobile phone. You can use any system- android as well as IOS.
- In the client device you need to download the Linksys App from the App Store or Google Play store.
- Let the app install on your device and move further with the setup.
Create an Account
- Next you need to create an account on the Linksys app. In case you already have one, login in the same.
- Click on create account option and mention the asked information.
- Verify your email after creating a secured yet unforgettable password.
Add Your Velop System
- Once logged in, tap “Set Up a New System” and select “Velop MX12600.”
- The app will prompt you to scan the QR code available on the router.
Follow the Prompts
Adding Nodes
Position Nodes Strategically
- Place the additional node in the area where you feel network coverage is not optimal.
- You should choose a midway position for the node so that it can connect with the router easily and cover the weak network zone area too.
Connect Nodes
- Power up the nodes by using the adapter and power socket. Wait for the power LED of the node to stabilize and turn solid purple in colour.
- Go to the app and click on “add additional nodes” from there. Thereafter wait for the connection process to complete.
- App will automatically connect to the nodes and configure them.
- Once the configuration is complete, you will notice solid blue light on the node’s LED.
Test Coverage
- Once all nodes are connected to the network, you need to test the coverage.
- Move nodes if necessary to optimize performance in case you find any weak signal area.