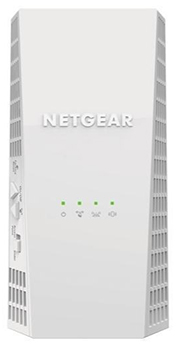
Configure AC1750 Netgear WiFi Range Extender
Benefits Enjoy Before & After Installation
- High internet speed at all corners or areas of the workplace.
- Locate at any place.
- Clear all the dead zone areas.
- You can remove errors easily from this device if you face any after installation.
- Purchase it easily from any online or offline market store at a reasonable price.
Access AC1750 Login Page Of Netgear Extender
To access the AC1750 Netgear extender login page, you will be required to place the extender power plug in an electrical socket. After that push the AC1750 extender power button to power it on. Now, take the WiFi device and connect it with the Netgear AC1750 extender default WiFi network. Next, open Chrome and type the default web address in the search bar. Fill in the details username and password. The details are also written on the tag of the AC1750 Netgear extender device. In the end, hit the login button to access the Netgear AC1750 extender web management or login page.
After doing the login process, let’s start the configuration process.
Configure By Pressing The AC1750 Extender WPS Button
The WPS method is a very easy way to pair the extender with the router. First of all, place the AC17550 Netgear extender power plug in an electrical socket closer to the router. After that look at the WPS button for both the existing router and extender unit. After finding it, press it for 2 minutes. Now, the WPS LED on both the units starts blinking solid which means they both are successfully linked. Further linking, place the extender in that area where you face slow-speed internet.
Note:- Try another setup method step if you are unable to do the Netgear AC1750 setup process by the WPS method because some routers do not support the WPS button.
Without WPS Button Setup AC1750 Extender
First, place the plug in the socket and turn it on. After that, take a computer or PC and connect it to the AC1750 Netgear WiFi range extender default network. Now, open Chrome and hit the IP address in the search bar. Fill in the details that are asked of you on the login page and hit the login button. Further, click on the start setup button option and then pick the extender or repeater mode option. Make a new WIFi network name and security password. In the end, save all the changes to finish the Netgear AC1750 setup process without the WPS method.
After trying the apart two setup method, if you are facing any error in the unit such as the unit not working properly or any other issue then try the below troubleshooting tips to fix an error.
Solution Tip To Fix AC1750 Netgear Extender Error
Power cycle Netgear AC1750 Extender
Locate Extender At Suitable Location
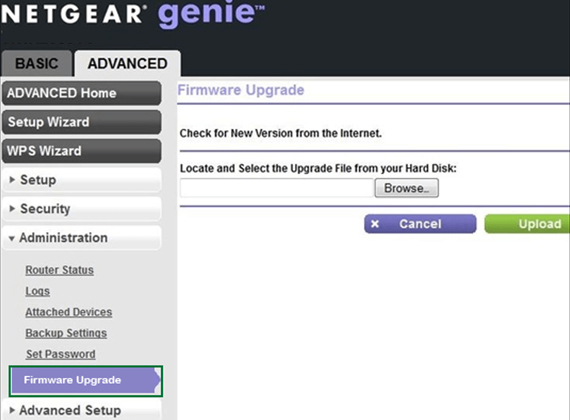
Update The Netgear Ac1750 Extender Firmware
Reset All Settings
First, look for the reset button on your extender. After finding it, take the paper pin and insert that paper pin into the reset button. Now, all the LEDs on the Netgear AC1750 extender will power off. Thus it means your Netgear AC1750 extender unit is completely reset now.
Note:- After resetting all settings, do the Netgear AC1750 extender setup and log in again.
Further, in the whole direction of this page, you get all the information about your Netgear AC1750 extender. In your mind, if you have any questions then feel free to discuss them with our tech expert.