Complete Guide to Netgear N300 Setup for Seamless Connectivity
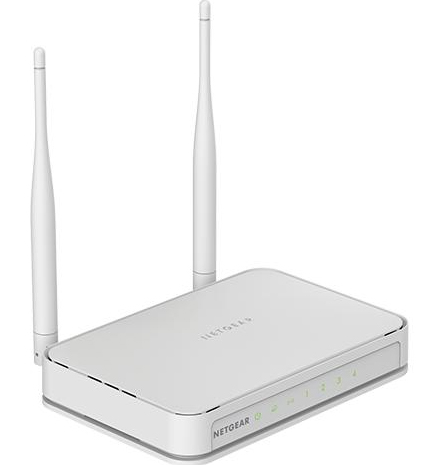
Overview of Netgear N300 Router
Step 1: Unbox and Hardware Setup
- Unbox your Netgear N300 router and make sure that all the necessary components are included in the package, including the router, power adapter, user manual, and Ethernet cable.
- Place the router in a central location within your home or office, preferably elevated and away from obstructions for optimal signal strength.
- Connect the power adapter to the router and plug it into a power outlet. Wait for the router to power on. It takes few seconds
Step 2: Connecting to Your Modem
- Using an Ethernet cable, connect one end to the Ethernet port on your modem and the other end to the yellow Ethernet port on the back of the N300 router.
- Wait for the modem and router to establish a connection. The lights on the front of the router will indicate when a connection has been successfully established.
Step 3: Access the Router's Web Interface
- Open a web browser on a computer or mobile device connected to the N300 router.
- In the address bar, type in the default IP address for the router, which is typically given in the user manual and press Enter.
- After this, you will be prompted to enter a username and password. By default, the username is usually “admin” and the password is “password”. If you want to change these credentials , then change for security concerns.
Step 4: Configure Basic Settings
- Once logged in, you will be directed to the Netgear N300 router’s web interface. Here, you can configure various settings to customize your network.
- Follow the on-screen instructions to set up your wireless network name (SSID) and password. It is recommended to use a strong and unique password to secure your network.
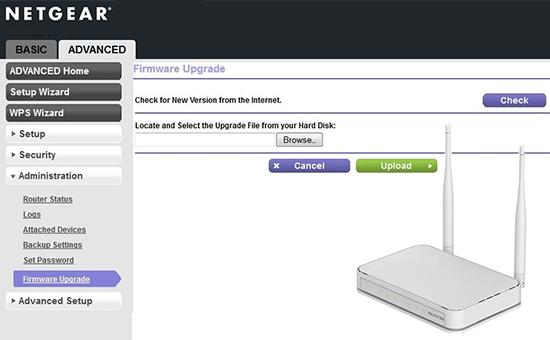
- You can also configure other settings such as guest network access, parental controls, and firmware updates according to your needs.
Step 5: Connect Devices
- After configuring the basic settings, connect your devices to the wireless network. Simply search for the network name (SSID) and enter the password.
- You can connect different types of devices to your Netgear N300 router, including smartphones, tablets, laptops, smart TVs, and more.
Step 6: Troubleshooting and Support
- If you encounter any issues during the setup process or while using your Netgear N300 router, refer to the user manual for troubleshooting tips and solutions.
- If you have any further questions or need assistance, don’t hesitate to reach out to the Tech Support Hub team for help. Our team is available 24/7.
What to Add to Improve the Performance of Netgear N300 Router?
If you want to enhance the performance of the N300 router, use Netgear range extender with it. These extenders double the range of your existing wifi network. You just need to set up the router and extender accurately, rest leave everything on both the devices. The extender has the capability to cover the areas that are outside the reach of your router.
Additionally, extenders eliminate obstacles and boost overall signal strength for improved connectivity throughout your space. But if you place the extender at the wrong place, you will not be able to get the desired results. Placement plays a crucial role. So, it is advisable to place the extender and router sensibly.
Here are some of the instructions for the right placement of extender:
- Choose the location where you need maximum coverage
- Central location in the house or office space is the best to evenly distribute the signals
- It is recommended to put the router and extender at little height for better effects
- The extender should be placed at the halfway distance between the router and the areas with weak signals
- The closer the router to the extender the better it performs, keep this thing in mind.
To get the best results, you can experiment with the antennas on the extender. You can adjust them according to your needs. Lastly, keep the firmware of the router and extender updated.