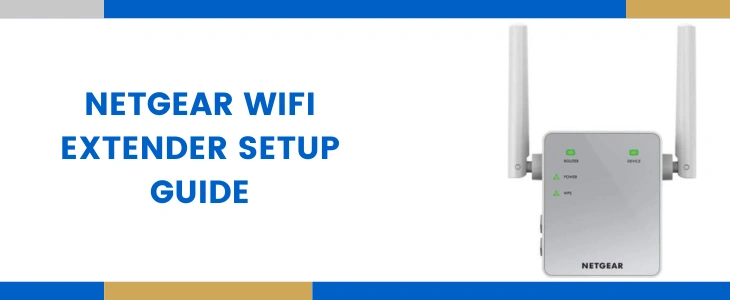
Netgear Wifi Extender Setup Guide
Do you often come across issues like dead zones, slow wifi speeds, lag and buffering, sudden connection drop and many other problems of similar nature? If yes, then you are not alone. Many people experience these frustrating wifi problems. One moment you might be enjoying your favourite show the very next second you would be looking at a continuously moving buffering wheel. These problems are more common in larger homes, places with multiple thick walls and in areas where there are too many interfering sources. So if you are looking forward to eradicating all these issues, then consider investing in a Netgear wifi extender setup. After its successful installation, you”ll be able to enjoy seamless connectivity in every single area of your place be it your bedroom, living room, front yard or your backyard.
So if you already got one for your place then through this post, you’ll be able to set it up within minutes. We’ll be sharing not one, but all three setup methods. So you can choose one which you find easier.
Setup Using WPS
Netgear wifi extender setup using WPS method means connecting just with a simple push of a button. The accurate steps for this method are as follows:
- First if your Netgear wifi extender has a mode switch button, then ensure its tilted towards the extender mode.
- Next up, place the signal repeater at the same place as your router. Thereafter, using its power adapter, turn it on. Wait for its smart indicator to turn blue/green.
- Now click the WPS key on the Netgear repeater. The WPS light on it starts flashing. So without wasting a single moment, push the router’s WPS button as well.
- As you complete the above written Netgear wifi extender setup steps, you’ll have to wait for the WPS LED and the router LED to turn green/blue.
- Finally, unplug the signal repeater from its current location and plug it in an area which is halfway from your router and the area where you were facing connectivity problems. After placement, turn it on. Again wait for the all LED indicators on the repeater to turn green/blue.
- Lastly, link any of your smart devices to the new network and test the connection. The passkey is as that of your router.
Netgear Wifi Extender Setup Using App
The setup using the Nighthawk app is extremely easy and super quick. The steps for it are:
- First ensure your router is well linked to the internet source and also note down its SSID and passkey beforehand as it is required in the further setup steps.
- Now take any of your smart devices. On it install the Nighthawk application. After installation, open it up. Tap on the Menu button.
- Move ahead and click on “Setup a new Nighthawk system”. Thereafter, tap on Get Started option and following it select Range Extender.
- Next up, turn on the Netgear extender in the same area where your router is operating. After it boots up properly which means when the extender shows up blue/green light, tap on Next and then on Continue.
- Now for completing the Netgear wifi extender setup, all you need to do is follow each and every prompt one after the other that is given by the application.
- Finally, after the setup completes, you can unplug the extender and move it into a location where the router’s signals are decent and it’s also close to the area where wifi problems exist.
Setup Using Web Browser
Now comes the most used method for Netgear wifi extender setup which is using a web browser. The simple steps for it are as follows:
- First check if the router has its proper connection to the Internet source or not. Thereafter note down its network identity and security key.
- Move ahead and tilt the mode switch button towards the extender.
- Thereafter, place the signal repeater strategically at a location which is close to the router and also near to the area where you require wifi coverage.
- Next up, turn on the extender. Wait for its power light to transform into blue/green color.
- Now take up your smart device which can be anything from computer, laptop to cellphone.
- Activate its wifi. Connect to the network identity “Netgear_EXT”. Input the term “password” for password. Tap on Connect.
- In this Netgear wifi extender setup step, you need to open up an internet browser which is up-to-date. You can use any browser like internet explorer, chrome, firefox, safari or edge.
- Thereafter, visit its URL column. Ensuring complete correctness, type in mywifiext.com. Click Enter.
- A window opens up from which you need to tap on “New Extender Setup”. Now you might be asked to agree to certain terms and conditions. So do the needful.
- Move ahead and fill up your username and password. Keep the passkey a little complex. Then select any two security questions and answer them. This comes in as a saviour when you forget the login password. Once done tap on Next.
- Finally choose the router’s SSID. Click on Next. Fill its passkey. Tap Next. Wrap up Netgear wifi extender setup by fulfilling the remaining interface prompts.
