Insider Tips for Effortless Rockspace Router Setup
Are you struggling with Rockspace router setup and finding ways to perform the process effortlessly and correctly? Look no further! Stick to this guide for a while and get what you want. In this detailed guide, we will discuss the most effective ways to perform the router setup easily. Whether you are a tech expert or a novice, these tips are useful for everyone looking to configure their router in the home or office.
Various Rockspace Router Setup Methods
Setting up a Rockspace router is an easy and simple process. There are different methods by which you can successfully complete the setup procedure. Here is the list:
- Web-based setup
- Mobile application setup
- WPS method
- Ethernet cable setup
Preparing for the Rockspace Router Setup
Before performing the setup process, it is essential to familiarize yourself with the Rockspace router and its different components. This will help you accomplish the setup procedure smoothly. So, unbox your router and inspect the components in it. In addition to that, carefully check that you have received all the components in good condition. What you find inside is a router, ethernet cable, power adapter, and a user manual.
Now, take some time to know the router’s specifications like its model number, available features, and so on. By understanding these specifications, you can optimize your router during setup.
Choose the Perfect Location to Place the Router
The next step in the Rockspce router setup process is to choose the optimal location for your router to maximize its coverage and performance. It is always suggested to select a central location because if you place your router at this place you will experience better connectivity in all the areas of the house or office. Also, keep it away from obstructions and electric appliances as these interfere with the router and affect signal strength.
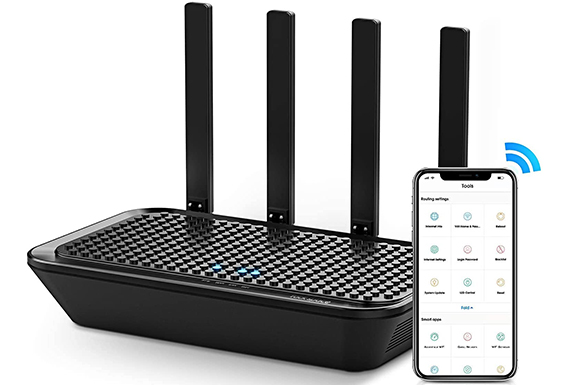
Position Antennas for Maximum Coverage
If you have a router with external antennas, change their position to optimize wifi coverage and signal strength. You can adjust antennas vertically and horizontally to find the best configuration for your environment.
Performing the Rockspace Router Setup
Firstly, connect your router to the power source using the power adapter. Now, connect it to the modem using the ethernet cable to maintain a direct connection. It’s time to configure the router, access its web interface using the IP address that you find in the user manual. Then, open your browser and type the IP address in the address bar. This will prompt you to log in to the admin panel using the default username and password.
Update Router’s Firmware
Before proceeding with the configuration, check for firmware updates. The updated firmware effectively addresses bugs, improves performance, and makes the router compatible with the latest devices.
Customize Network Settings
When you log into the web interface, you can customize your network settings according to your unique needs. Here you can set SSID and password, configure security settings, and enable guest network if required. After customizing all your settings, click on the SAVE to apply changes and the Rockspace router setup process has completed.
Enable Advanced Settings
Quality of Service
QoS is a powerful feature that helps you to prioritize certain types of network traffic over others. For this reason, this feature is beneficial for applications that need more bandwidth like online gaming or video streaming, and it ensures they receive it in sufficient amounts for a smooth online experience.
How to enable QoS?
- For this, you need to access the router’s web interface. The steps discussed above help you access the web interface. Now, log in using the admin credentials.
- Find the QoS settings section, which is typically given under “Advanced” or “Quality of Service” in the router’s menu.
- Enable QoS and configure the settings according to your preference. You can prioritize traffic based on applications, devices, or ports.
- Now SAVE your changes and reboot the router to see the effects.
Port Forwarding
A Port forwarding facility is beneficial for connecting specific devices within your network. So, let’s take a look at the steps to set up port forwarding on your router:
- Access the router’s web interface and log in using admin credentials.
- The port forwarding option is available under the “Advanced” tab in the router’s menu.
- Create a new port forwarding rule by specifying the port range and local IP address of the device you want to forward the port to.
- Save the settings and observe the changes.
Need Technical Assistance?
By following the above tips you can easily do the Rockspace router setup. However, if you face any issue at any point, you can seek technical assistance from our team. We have a team of highly skilled professionals who are equipped with knowledge and provide effective solutions for all networking problems. So, call us right away and give all your network worries to our team.