Verizon e3200 Extender Setup: A Complete Guide
Verizon e3200 operates on tri-bands. Therefore, after carrying out a successful Verizon e3200 setup process, you get to enjoy seamless wifi connectivity all around your home/office space. This particular e3200 extender is suitable for larger homes. Further its dual Gigabit LAN ports allows you to establish both wired as well as wireless connections. The Verizon e3200 wifi extender setup works in collaboration with your Verizon 5G Internet Gateway and thus helps you eliminate all the connectivity problems like that of dead zones, slow speeds and signal drop. Moving further with wifi 6 you get dependable connectivity for everything like gaming, streaming and browsing. With Self Organizing Network (SON) technology your gadgets automatically get connected to the best available connection.
Now if you want to grab the benefits of all the above mentioned features, then carrying out an errorless Verizon e3200 extender setup process is crucial. So in this post we’ll be providing the helping hand for the same.
Quick Verizon E3200 Setup: Wireless Pairing
The wireless setup process is easy, quick and takes a few minutes. The steps for it are:
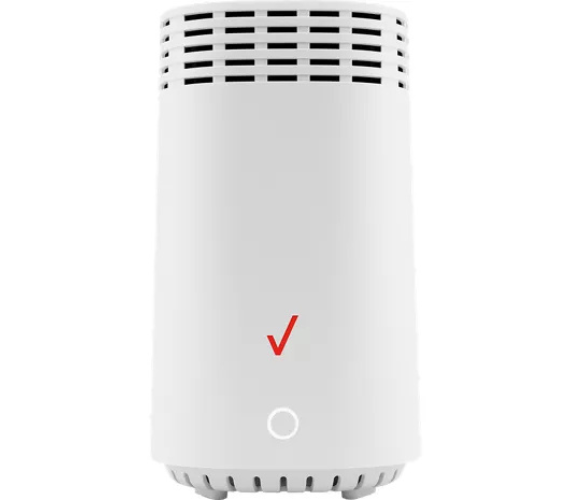
- First plot the Verizon e3200 extender next to the Verizon Internet Hub.
- Thereafter, fetch the power cord from the package.
- Link the cord to the e3200 extender. Then move it into a well-working power socket. Switch on the power button.
- You cannot move to the next Verizon e3200 extender setup step until the light on the device turns stable yellow.
- Moving further, press the Unified button that is there on the front interface of the e3200 extender. Do not press and release the Unified button rather keep hold of it for three seconds.
- Now immediately push the Unified/Pair button on the Verizon Internet Hub. As you do so, the light on both the gadgets starts to flicker blue.
- Finally, as you see a stable white light or flickering yellow light on the Verizon e3200, you can rest easy knowing the Verizon e3200 wifi extender setup is successful.
- Now for complete coverage, unplug the e3200 from its current location and place it between the internet gateway and the area where you require extended coverage. Turn it on. Now to know whether the placement is accurate or not consider light indicators. If you see a quickly blinking yellow light then move the e3200 further from the internet gateway and vice versa if the yellow light is blinking slowly.
Verizon e3200 Extender Setup: Wired Connection
For wired Verizon e3200 wifi extender setup you require an Ethernet cable. As you fetch it, link it to the router and then to the e3200 extender. Thereafter, move the adapter’s power cord into the e3200. Then move the adaptor into a power socket. Turn on. Allow the e3200 to start up properly. It starts when you see a glowing yellow light.
Moving forward, detach the extender from nearby to the e3200 and plot it strategically. Again turn on and allow the e3200 to show up white light. As it indicates an errorless completion of the setup process.
How To Create A Guest Network On Verizon e3200 ?
Want to keep your primary Verizon e3200 setup network exclusively for your own use and thus want to add up another network for the visitors? If yes, then this is possible through the Guest Network feature. To create the same all you need to do is, follow these basic steps:
- First grab your laptop or any other gadget of similar nature. Link this device to the E3200 extender.
- Thereafter, open an internet browser like chrome, firefox, safari or any other compatible and well-working browser.
- In the browser’s URL column fill up 192.168.1.254. Click enter. Fill up the password as written on the e3200’s rear panel.
- Now after successful login, select the wifi option from the side panel. Here you’ll see the option of a guest network. Click on it. Now you can set up the guest network’s SSID, its password alongside security encryption.