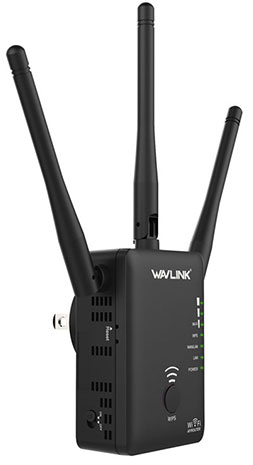
Step Up Your Connectivity with the Right Wavlink AC1200 Setup
Wavlink AC1200 User Manual
Setup Instructions
To complete the setup in one go, keep everything gathered and ready like an extender, power adapter, ethernet cable, and smart gadget with an updated browser. After gathering all the necessary components, perform the physical setup.
Place the extender at the appropriate location. The central location is considered the best. Moreover, put the extender at a higher position, closer to the router, and away from interference. If you are not knowledgeable, do not try to do it own. You can connect with our tech support team or follow the user manual.
Features of Wavlink AC1200 Extender
Dual-Band Technology
Easy Setup
Wavlink AC1200 setup is super easy and all thanks to its user-friendly interface. Whether you are a tech enthusiast or novice, anyone can perform setup easily and have their network up and running in no time. Moreover, the user manual is also provided to simplify the process.
Enhanced Coverage
Strong Security Features
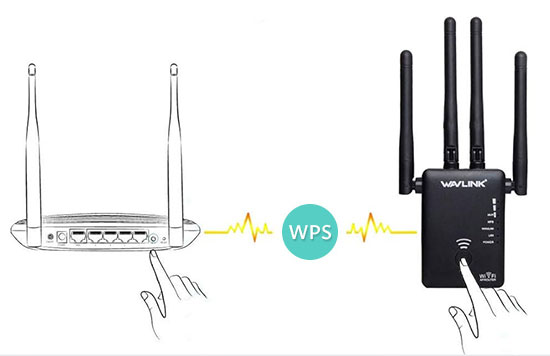
Wavlink AC1200 Extender Setup Using Router
- Connect your extender to the power outlet and wait for a few minutes to start the extender.
- Check the LED status, when it becomes red, tap the WPS button on your router and hold it for 5-10 seconds.
- After 10 seconds the WIFi signals LED light changes color and starts blinking.
- It is making a connection with a new device. It’s time to press the WPS button on the extender. Wait for 6 to 8 seconds until the LED light turns blue.
- It indicates that the extender is communicating with the router.
- When the blinking red light turns solid blue, the Wavlink AC1200 setup is completed.
Wavlink AC1200 Setup Using Mobile Application
Web-Based Setup of Wavlink AC1200 Extender
- Power up your extender, plug it into the power outlet using the adapter and wait for at least 45 seconds. The LED light starts blinking and turns red.
- Now search for the available networks in the Wifi settings.
- Look for your extender network and connect to it.
- Now open the browser and enter the IP address in the address bar.
- Enter the login details like username and password and you will be directed to the setup page.
- Complete the Wavlink AC1200 setup by following the on-screen instructions.
- This whole process takes a few minutes and your extender is ready to improve your network.
Troubleshooting Tips for Wavlink AC1200 Setup
- Make sure that the extender is properly plugged into a power source and that all cables are securely connected to the appropriate ports.
- Verify that the LED lights on the extender are working properly. If they are off or flashing abnormally, it could indicate a problem.
- Sometimes a simple restart can solve connectivity problems. So, turn off the extender, wait for a few seconds, and turn it on.
- Update the extender firmware as this is necessary for bug fixing and performance improvement.