No More Buffering: DIY Wavlink AC1300 Setup Made Simple
No idea how to perform the Wavlink AC1300 setup?
You are not the only one. But since you have reached the right place you will be fine. There are a lot of blogs and articles about setup processes and troubleshooting. But only a few are useful to actually get the job done. In addition, the user manual that you get along with the Wavlink device is said to have all the information. But in reality, it confuses the customers more than before. So, you can not rely on that too, no need to worry though. Because we are here to solve every single problem you are or can face while doing the Wavlink AC1300 setup. Get your laptop, phone, and a cup of coffee and start reading the instructions.
Why Everybody Is Talking About Wavlink AC1300?
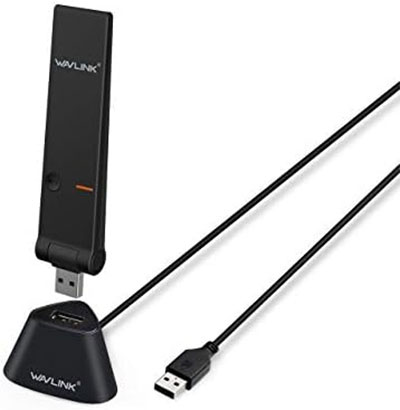
By using the AC1300 wireless adapter, you can upgrade your PC, laptop or Mac to work with the latest AC wifi router for faster speed and extended range. Here are some of the unique specifications that make it the talk of the town:
- Support 2.4GHz & 5GHz WLAN networks
- Dual Band connections for lag-free HD video streaming and gaming
- SuperSpeed USB 3.0 port, backwards compatible with USB 2.0
- Complies with IEEE 802.11a/b/g/n/ac standards
- 20MHz & 40MHz & 80MHz bandwidth transmission
- OFDM with BPSK, QPSK, 16QAM, 64QAM, 256QAM modulation
- Supports Windows, Mac OS X
Role Of Wavlink AC1300 Setup
Where To Start From?
- Good Internet Connection – An efficient Internet connection is required for a successful login and setup process. So, ensure the internet connection and plan you have to support the process.
- Ethernet Cable – An ethernet cable plays a vital role in determining the quality of the internet. To get the best quality internet supply, you need to make sure that the ethernet cable is of fine quality and capable of supplying the internet smoothly.
- SSID and Password – You will need both of these while logging in and collecting them before starting the process is a very good idea. Because it will save you time and a lot of additional hard work. Check on the label that is at the bottom of your device.
- User Manual Guide – This small booklet that you will receive along with the Wavlink extender kit has all the information you are going to need. It has half of the information but still keeps it with you while the Wavlink AC1300 setup.
- Placement – The placement of the extender is an essential factor. It can cause connection breakage. Try to place it halfway between the router and your system. electromagnetic devices and physical obstructions can affect the quality of the internet. So, try to place the extender in an open space.
Time To Perform The Configuration Process
Connecting The Extender
This is the first step towards the Wavlink AC1300 setup. You can perform this step in no time if you follow all the instructions correctly. There are some variations. Read about them all and decide for yourself.
- Wired Connection – You can connect your device and extender via an ethernet cable. This connection is usually strong and shows fewer errors. Plug one end of the cable into the extender and the other into the system you are using.
- Wireless Connection – Switch on the power outlet and go to the network settings on your device. Click on the Wavlink extender’s name once it appears on your screen. This method can take a few seconds or more.
- WPS – This is the easiest method among all of them. But the only requirement is that your host device should also have the WPS feature. Click the WPS button on your host device. Press it for a few seconds and then release it. The same goes with the extender. The connection will form in a few seconds. Once the LED stops blinking it is an indication that the connection is successful.
Step-by-step Guide To Log In
- Web Browser – This is the basic method to log in that you can perform successfully in a few seconds. Choose an updated device and go to the browser that you are most comfortable with. Type the web or IP address of Wavlink. You will see the web page now. Click on the Login and fill in all the login credentials into the interface. Click on sign in. In case of login failure, retype the address accurately.
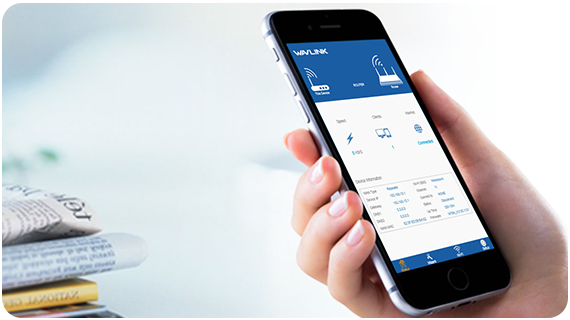
- Mobile App – Logging in via the app is a smart choice and comes in handy as everybody has their phone on them all the time. Download the app and enter the SSID and password that you have collected already. Click on sign in and you will be done in a few seconds.
Final Steps To Set Up The Wavlink AC1300
- First, go to the Setup page and click on Customize Settings. <liThen, enter your login credentials.
- Now, change your SSID and password to secure your network.
- Also, set up parental control and other essential settings.
- Then, go to the WiFi manager of your laptop.
- Now, click on the existing main device name.
- Enter the previous password and connect.
- Lastly, click on Done and restart your device.
- It will save all the customized settings properly.