Charting Your Course: Mastering Wavlink AC2100 setup
Are you looking for the best solution to all of your internet-related problems?
Congratulations. You have landed at the very right place. Here you will get not only the solution for your poor signal network system but also the complete information regarding it. Most people can buy competent network systems but the lack of information becomes a big hurdle for them. But Wavlink understands the context. Therefore, today you will get the knowledge about the Wavlink AC2100 setup to eliminate all the dead wifi zones from your house.
Where To Look For The Wavlink AC2100?
Wavlink extenders are famously known for improving internet performance. No wonder some people are here to gather information about this celebrated network extender. The answer is simple. You can buy Wavlink extenders from anywhere. Local stores if you prefer old-school shopping. Online platforms like Amazon if you like your stuff to be delivered to your doorstep.
Why Only Wavlink AC2100?
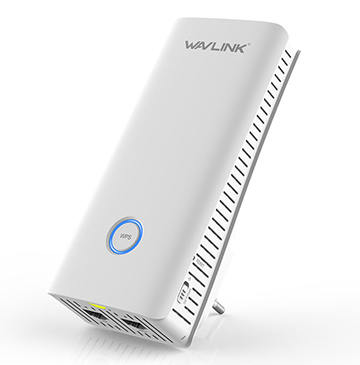
- Advanced extender model with sharp edge exterior.
- 8 omnidirectional antennas with 4+4 with high-power FEM amplifiers.
- Dual-band signal with a 5G rate of 2400 Mbps and 2.4G rate of 800 Mbps.
- It has the capacity to provide the fastest internet to up to 78 devices.
Let’s Know About The Prerequisites
Smart work always outshines hard work. So, it’s better to prepare all the essentials before starting the procedure. These little tricks can save a lot of time. In addition, prevents you from the frustration you might feel due to the interruptions.
Do Your Internet Is Enough To Support The Whole Process?
The first and foremost requirement is a good internet connection. Connect your computer or whatever you are using to the modem and the gateway device.
Time To Check The Box And Prepare For The Configuration
The second step is to open the package and check it carefully. No component must be damaged. In addition, the kit must contain the items given below:
- The Wavlink extender device.
- A user manual guide.
- An ethernet cable.
- A warranty card.
Go For The App Information
Most of the wireless wifi network system brands offer an app. It helps simplify the setup and management of the extender or the extender. If yes, then you can download the app. Such apps are usually available on the Google Play Store and the App Store too.
Set Up The Antennas First
First, you need to install the antennas if they come separately in the box. Take the user manual guide and read the instructions thoroughly. Because the wrong setup can waste a lot of time and make the process frustrating.
Step-by-Step Guide For Configuration
You will be able to perform the Wavlink AC2100 setup very easily if you have prepared the above-mentioned requirements by now. Further, follow the instructions that are explained in every single detail.
Connecting Devices In Simple Ways
- Take the ethernet cable that you have collected from the device box.
- Use it to connect your laptop and your extender device.
- Search for new available internet devices on your system if you wanna connect the devices wirelessly.
- The Wavlink extender name will appear on your screen after a few seconds.
- Click on it and the connection will be successful.
Login Methods And Their Processes
- Update the web browser you want to use.
- Type the IP address of your extender. You can also use 192.168.1.1 if you do not know about the exact IP address.
- You will see a login option. Click on it and fill in all the required information.
- Now click on Done or Sign In, whatever option is given below the interface. If the brand has its app then you can log in via the smartphone app as well. Here are the instructions:
- Download the app on your smartphone.
- Make sure you are downloading the latest version.
- Make an account with a username and password.
- You can change both of them anytime.
- Now select your device model.
- You will see a login interface.
- Fill in your SSID and password.
- Click on the Sign In button.
Customization And Setup
- Go to the settings on your setup page.
- Click on the settings and start customizing the features for your convenience.
- Enter the required information if prompted.
- Now, change the settings you want.
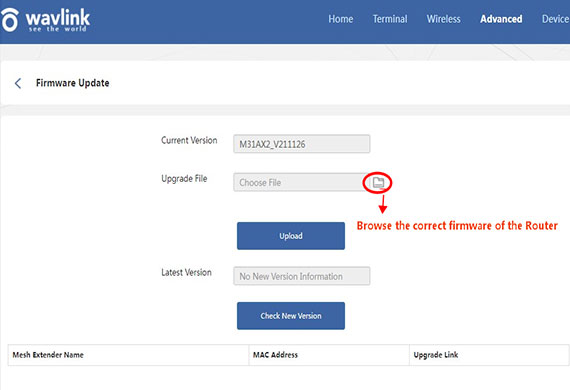
Do Not Forget About The Firmware
- Go to your extender’s administration settings.
- Check if any firmware updates are pending.
- Update the firmware to its latest version.
- Set the updates to automatic so you do not have to check again and again.