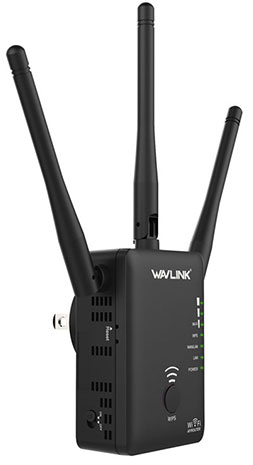
Configure AC750 Wavlink Range
Things Required To Do Login & Setup
- Must have an active internet connection.
- Take an ethernet cable or other hardware parts.
- Know the login information.
Access AC750 Wavlink Login Page
Can’t Access Wavlink Extender Login Page
- Identify that you must fill in the correct login credentials.
- The computer perfectly connects with the Wavlink extender network.
- Extender plug into the power-supplied socket.
By WPS Setup AC750 Extender
The WPS method process to set up an extender is so simple and easy.
Near to the main router, place the extender. After that, look for the WPS button on both extender and router units. Now, press the WPS buttons, by doing this extender automatically connects with the router. Further linking, take out the plug of the extender from the socket and place the extender where you want high internet speed.
Note:- When you are trying the WPS method process to set the extender then make sure or identify that your existing router must support the WPS button.
Configure AC750 Extender By AP Mode
- Early, look up the Wavlink WiFi network and link it with your WiFi gadget.
- Fill 192.168.10.1 IP address in the URL bar by opening the web browser.
- On the showing login page fill in the default details.
- Further, to log in please tap on the AP and complete the settings such as SSID and security password. Tap on the apply option.
- In the end, go back to the WLAN and rejoin the WiFi. By doing this you can enjoy the Internet.
After doing the Wavlink AC750 WiFi range extender login and configuration process if you are facing trouble in the extender such as the unit not working properly.
Resolve AC750 Extender Error
There are several points by which you can quickly fix the AC750 Wavlink extender.
- Change AC750 Extender Placement:- To change the placement of the extender, we recommend you place the extender at the central location of your house. While placing the extender at a central location make sure that near the extender, not even a single metal appliance should be placed.
- Reboot Wavlink AC750 Extender:- To reboot the extender, push the power button to power off. After that, from an electrical socket take out the extender. Next, wait for a while to place the power plug back in the socket, and press the extender power button to turn it on.
- Download the Latest Software Version:- To install the latest software file, go to the web page. After that, tap on the network administration option and then look for the software upgrade option. If any latest software file is there then install it on a computer or laptop.
- Identify All Hardware Connections:- Look up all the hardware parts that connect with an extender. Types of hardware parts are wires, power sockets, etc. If any hardware part is damaged then change it with a new one.
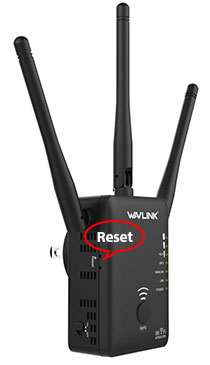
- Perform Hard Reset Process:- To perform the hard reset process, you will be required to take a paper or hairpin. After that, insert the pin in the reset button to press it. Now, all the extender LEDs will turned off. All off-power LEDs mean that the extender is completely reset now.
After the whole information on this page, we hope you will be able to do the Wavlink AC750 setup and login process without any errors. In case you face an error then you can also easily fix that by trying the apart solution tips.