Wavlink Halo Base Pro AC1200 Setup- Step by Step Guide

Wavlink Halo Base Pro Specifications
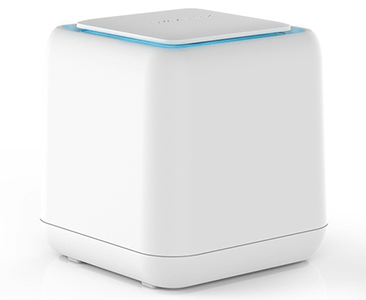
Wavlink Halo Base Pro is a dual band whole home mesh wifi system. In this system you can add as many as 8 mesh satellites. The mesh satellites have the capability to offer 1167Mbps combined speed through both 5g & 2.4g bandwidth simultaneously. To strengthen the signals and enhance coverage, the device has 4 internal antennas. In every satellite device you’ll find two Auto-Negotiation Ethernet WAN/LAN ports for wired connection. In addition to this you can share your home network with your guests through the touchlink feature that doesn’t require a password to access the internet. Also the device featured a reset button, power on/off button, pair button and a touch button. Wavlink Halo Base Pro AC1200 Setup is perfect for the larger coverage in ranch style home, multi story home or L shaped home.
Wavlink Halo Base Pro AC1200 Setup Process
- Connect one of the halo base pro devices with your home modem device.
- For connection use ethernet cable and insert one end in the modem’s port & other in halo.
- Thereafter, insert the power adapter pin in the power port of the halo device.
- Then connect the adapter to the wall power socket and turn on the power.
- Also turn on the power from the halo device.
- Now take a computer/ laptop device to proceed with the web access.
- Connect your laptop/ computer device with halo’s network.
- For this connection it’s not significant to use ethernet cable, you may proceed with WiFi connection. As per our advice ethernet cable connection reduces the trouble chances in the process so go with ethernet connection.
- Launch the web browser you have to access “wifi.wavlink.com” or “192.168.10.1” web page.
- Use admin as your password to enter the web interface and then select your Country/Region and Time Zone.
- Next you have to create a new password for the network and then click on the next option.
- Thereafter change the SSID and then the system will guide you with the further steps.
- Complete the Wavlink Halo Base Pro AC1200 Setup and also add the additional satellites to the network.
- Once completed, you can place the satellites to a different location where you want network coverage but remember not to keep it too far from the main router satellite.
Wavlink Halo Base Pro: Troubleshooting
Restart The Halo Satellite
- Turn off the power off the extender satellites first
- Thereafter turn off the power of the halo router satellite.
- Wait for about 2 to 5 minutes and then power on the halo router satellite first.
- Thereafter turn on the extender satellites.
- Once all the devices start, check if the issue is resolved or not.
- In case the issue persists then move ahead to the next troubleshooting.
Verify Firmware Update

- First go to the Wavlink official portal and search for Halo Base Pro firmware update.
- Thereafter download it and access the web interface of your device.
- Login by using your credentials and then go to the advanced option.
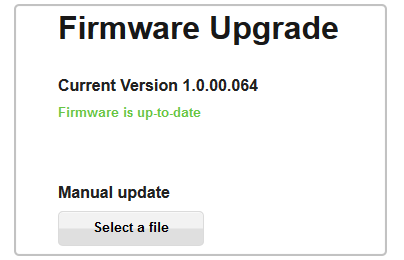
- Choose firmware update and then click on file symbol to locate the file.
- Upload the file you downloaded and then select the apply option.
- Wait for the process to complete, this will resolve the error.