A Complete And Detailed Guide On GL.iNet Router Setup
In today’s technically driven world, having access to the internet is extremely important. We need it to complete various activities successfully. For acquiring internet you need a reliable router. GL.iNet offers a vast variety of routers. You can select the one that matches your needs. Here’s the common process for all the GL.iNet Router Setup.
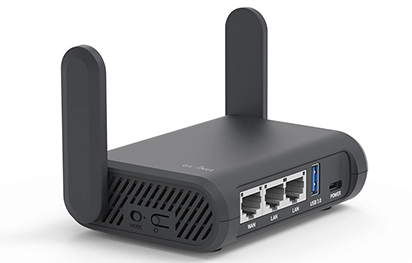
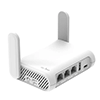
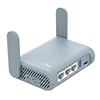
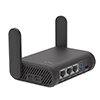
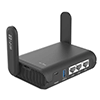
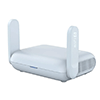
Supported Products
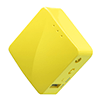
Mini Router
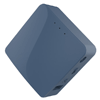
Travel Router
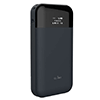
Cellular Router
Prepare For The Setup
It’s important to keep all the required equipment ready by your side. This preparation allows for a smooth and faster setup. So start by unboxing the GL.iNet router package. Inside you will find the power adapter, a USB power cable, a user guide and the most important part which is your GL.iNet router. If any of the parts is missing then you won’t be able to complete the GL.iNet Router Setup process. Make sure each part is present in the box without any damage.
Power On
The next step is to power on the router. For this take the GL.iNet router and the Micro USB power cable. Plug in one end of the USB cable into the router’s power port and other end to the power adapter. Now connect the entire setup to the power outlet and switch on the power button. The GL.iNet Router Setup process requires patience so do not move forward to the next step until the power LED stabilizes.
Connect The GL.iNet Router To Your Device
In this step you need a device. It can be any device like your smartphone, computer system or your laptop. Now there are two methods through which you can connect the router to your device. One is a wired connection which can be built through the ethernet cable. Another one is wireless connection that is built through the wifi.
Using Ethernet Cable
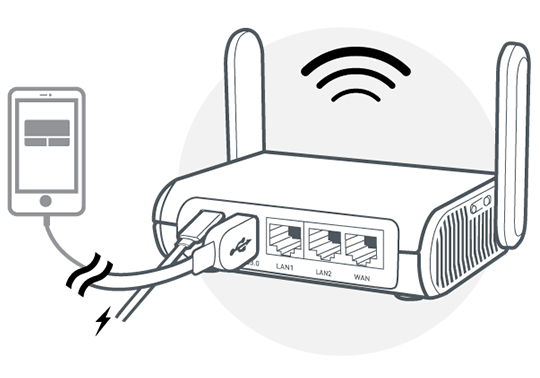
To connect your device to the GL.iNet router take an Ethernet cable. Make sure the cable doesn’t have any cuts and is working properly. Now connect its one end to the LAN port of the router. Further connect the other end to your device. The connection is successfully built.
Connect Through Wifi
If you do not prefer the above method then you can use this one. For this you need to know the default SSID of the router. You can easily find this information either in the provided user manual or on the bottom of the router. Now once you know the default username just open the wifi settings of the device. In the list of available networks look for the exact SSID and connect to it. You will be prompted to fill up the default password. The default password is “goodlife” for the GL.iNet routers. Now you are heading towards the end of the GL.iNet router setup process.
Follow The On-Screen Prompts To Complete The Router Setup
Moving ahead, first you will be asked to choose your preferred language. So select the one in which you are comfortable. Next, on your screen you will be prompted to enter the password. There is no default password for GL.iNet router setup. so you need to create your own password. Make sure the password that you create has at least 5 characters. Additionally we advise you to create a unique and strong password which cannot be cracked by anyone else. As you create the password click on Submit. As you do so the admin panel will appear on your screen. To complete the setup now, you just need to follow the on-screen Instructions. Make sure you do not skip any step as it will lead to incomplete setup. Once you have completed the setup, connect your devices to the router’s network to test it.
Let's Conclude!
Setting up technical devices seems to be a daunting task. But with the right guidance and assistance you can easily set up any device. So by following the above instructions carefully you can easily configure and set up your GL.iNet router. If you face any difficulty or need any other technical assistance then feel free to connect to us. Our team is readily available 24/7 to solve all your queries. We provide multiple contacting options like phone call, live chat, email support and much more.
